As an Amazon associate, we may earn commissions from qualifying purchases.
Table of Contents
Intro
Are you looking to add a touch of magic to your living space? Creating a captivating glow in the dark sign can be a fun project for all skill levels. In this guide, we’ll take you through the step-by-step process to craft your very own luminescent masterpiece. The end result is sure to brighten up any space and leave a lasting sense of wonder. So, let’s get started on this creative journey.
Before You Start
You can find the links to all the materials I used down in the materials section.
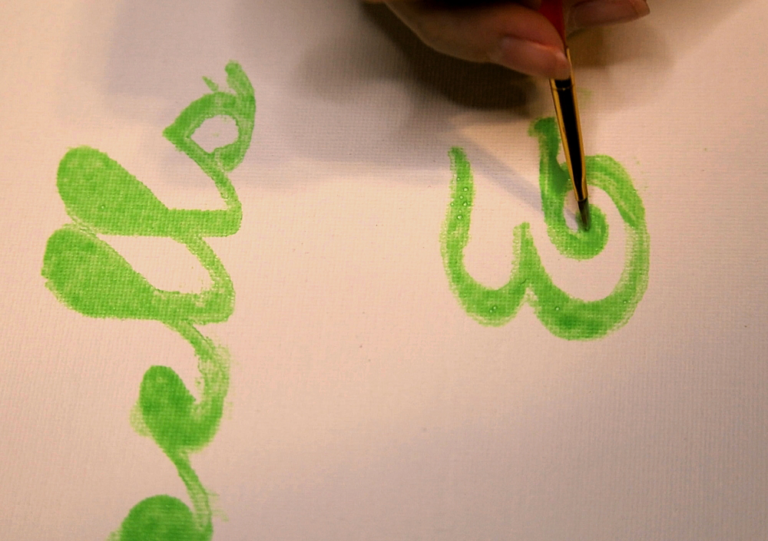
This project only took me about a day to complete. The worst part was waiting for the paint to dry in between coats. I could have used glow in the dark vinyl instead of paint, but I wanted a hand painted look. It wasn’t until I was fully committed that I realized how painstaking it was to hand paint the letters. I think it still turned out great though!
You can check out the full time lapse video below!
Materials You’ll Need to create a glow in the dark sign
Before we dive into the magical process, let’s gather the materials you’ll need:
Canvas – I used a canvas board that I had on hand, but you can also use stretched canvas if you prefer. Most canvases are white, but you can get black ones as well. This eliminates the need to paint the background, but you might need to paint more layers for the letters.
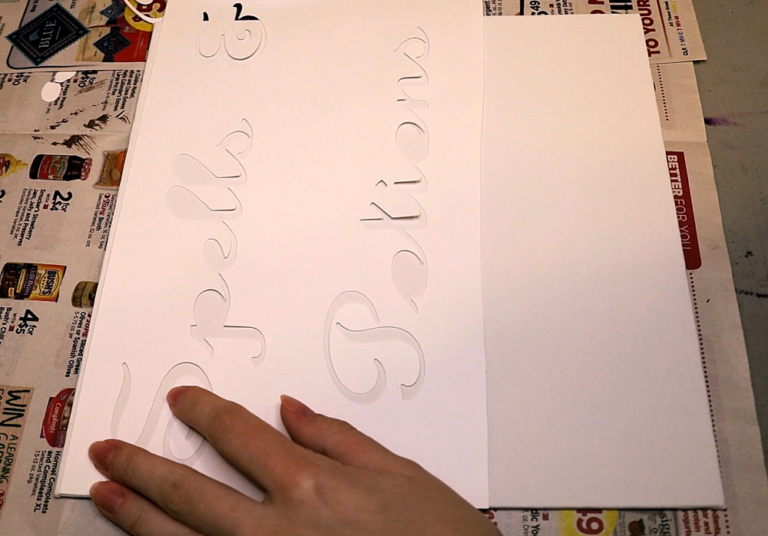
Letter Stencils – I created a basic stencil using card-stock and my Cricut machine. You can also buy letter stencils or free hand the letters if you’re on a budget.
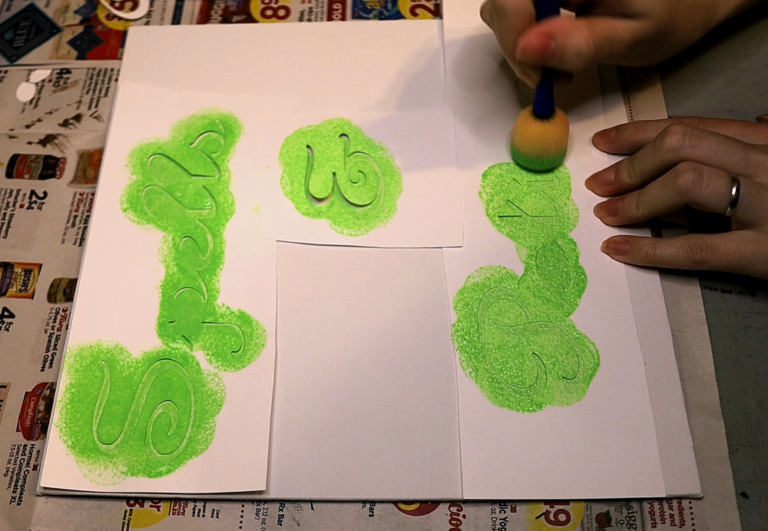
Sponge – I prefer using a sponge when I’m using stencils. Sometimes a brush will push paint up under the stencil, causing the lines to be very messy.
Paint Brushes – Used to clean up the letters and paint the background.
Glow in the dark paint – I used FolkArt Glow 323E Green paint since I had it on hand. You can use any brand of paint you prefer. If you have a Cricut, you can use glow in the dark vinyl and cut the letters out instead of painting them.
Black paint – I used Apple Barrel black paint for my background color, but you can use whatever color you prefer.
Varnish – (optional) This is used for protecting your artwork. I haven’t tried it on glow in the dark paint before and I was worried that the glow wouldn’t be as bright, so I opted not to use it this time.
Step 1: Preparing the Stencil
To begin, select a canvas that matches your desired sign size. You’ll want to measure the canvas and use those numbers as a guideline when planning the wording for your sign.
There are three methods to incorporate the text on your sign: freehand painting, using a Cricut machine, or employing pre-made stencils.
If you opt for freehand lettering, you can proceed to step 2.
If you have access to a Cricut machine, design your stencil and have it cut from a sturdy material like card stock. You want thicker paper so that the stencil doesn’t get completely destroyed when you start applying paint. If you want to use vinyl instead of painting the letters, a Cricut can do that too! There are lots of different colors of vinyl out there to choose from.
You can get pre-made letter stencils from Amazon in a wide variety of fonts. Keep in mind that customization options for size may be limited, so make sure the dimensions match your needs before making a purchase. What’s nice about these stencils is that they offer the advantage of multiple uses, unlike the onetime use paper stencils.
Step 2: Painting the Text
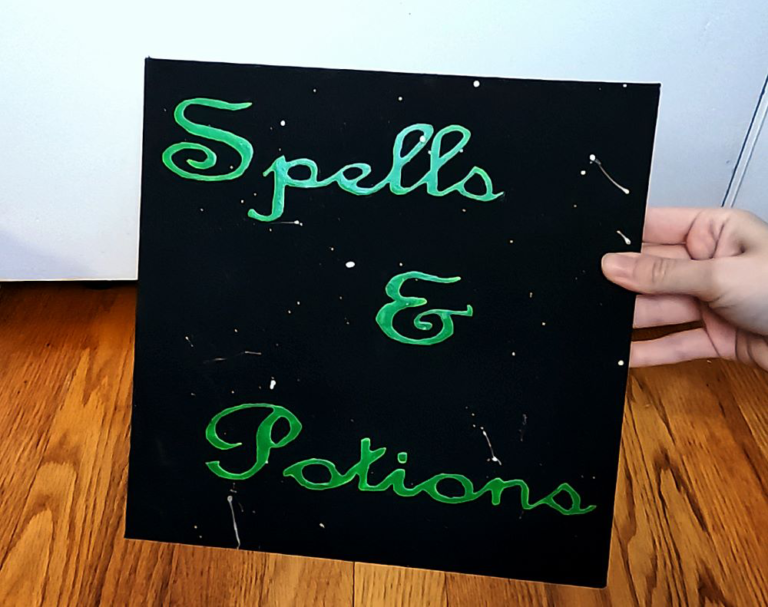
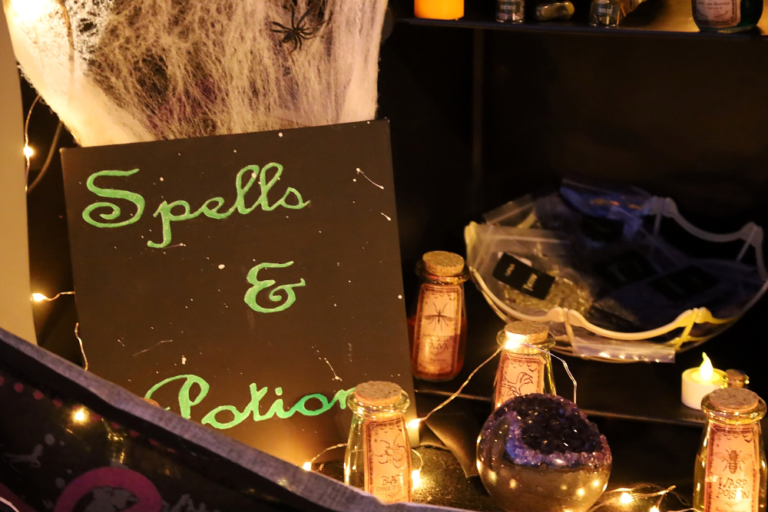
I opted for the words “Spells & Potions” as the text for my sign. Feel free to choose anything that suits your theme.
Follow these steps to paint the text onto your sign:
Place your stencil onto the canvas. You can use tape to hold it in place if you prefer.
Using a sponge, apply the glow-in-the-dark paint. Using a sponge helps prevent the paint from seeping under the stencil. Gently dab the paint until you achieve the desired coverage.
Remove the stencil and allow the first layer to dry. Removing the stencil prevents the paint from smudging as it dries.
If your paint is thin, you may need to apply multiple coats. Make sure to let each coat dry before adding the next!
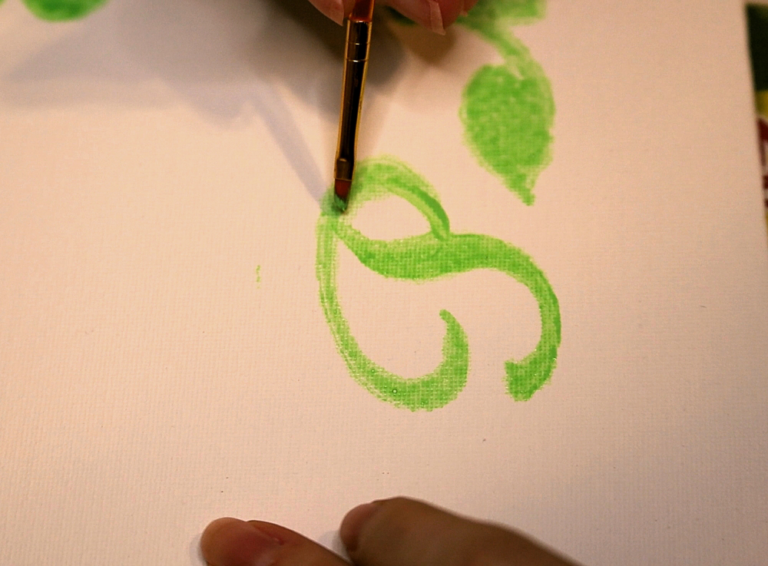
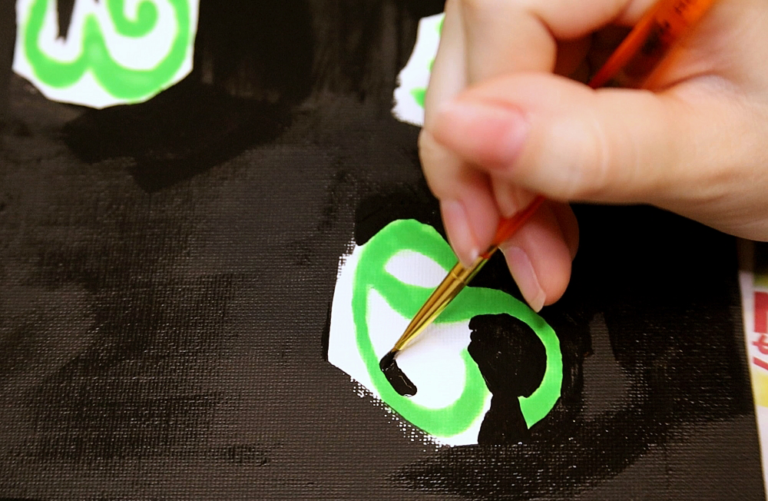
Tidy up any lines and address imperfections to achieve a more polished look.
Table of Contents
Step 3: Painting the Background
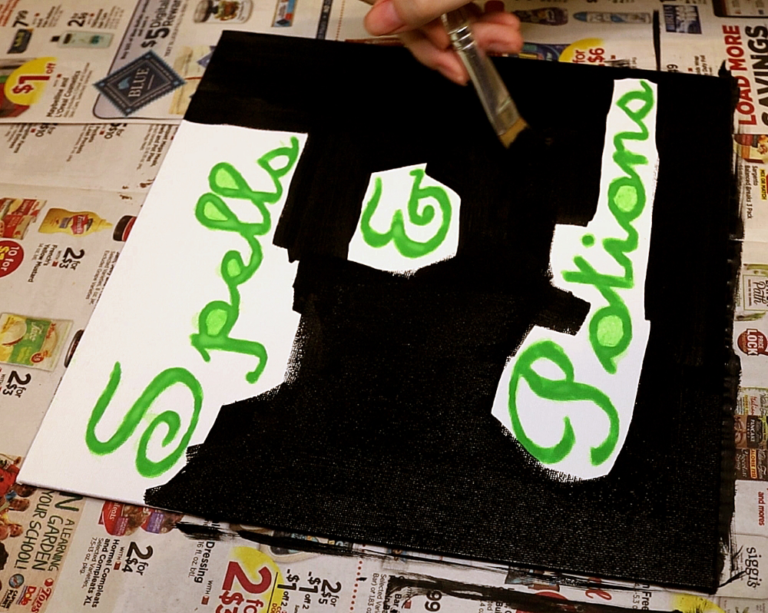
Once your letters are all painted, it’s time to paint the background!
In theory, you can paint the background first, but if your paints are thin or light, achieving your desired color on a dark background will require more layers. For instance, I used a very thin, bright green paint, and choosing a white background over a black one saved me from a lot of extra effort later on.
While painting the background, you can also address any additional line mistakes you find in your wording. Just be careful and have a paper towel handy in case of any mistakes!
Step 4: Adding a Magical Touch
After everything was painted, I felt that the canvas appeared somewhat plain. So, I went back and splattered some glow in the dark paint across the surface. You can add anything you want to your sign. Your sign is a blank slate for your imagination, so feel free to let your creativity soar.
Consider these ideas to add to your sign:
Enhance the visual appeal by adding decorative borders or frames around the edges. This can give it a more finished look.
Incorporate icons or symbols that align with the sign’s intended purpose.
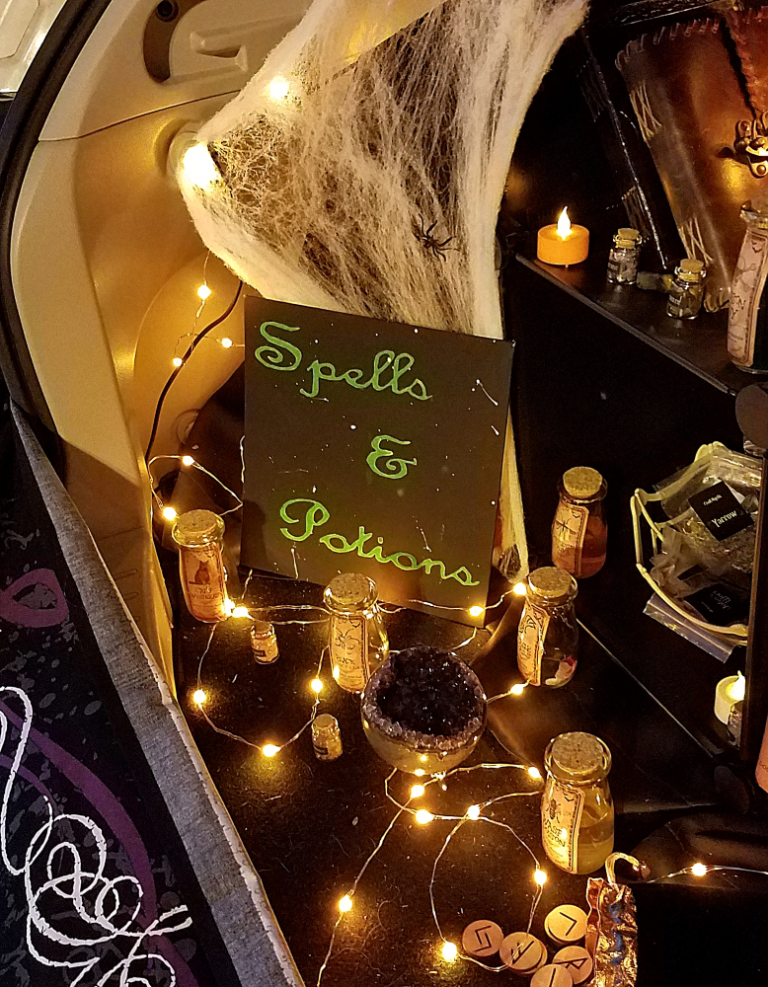
If your sign is intended for Halloween, you could introduce elements such as spiders, cobwebs, bats, pumpkins, or other Halloween-themed items.
Add glitter to your sign to create a sparkling and eye-catching effect.
Step 5: Sealing (Optional)
While it’s generally a good idea to apply a protective seal to your artwork, I was concerned about the varnish affecting the glow in the dark paint. Therefore, I chose not to use it for this project. If you have prior experience with it or are interested in testing it out, feel free to do so. Just consider performing a test trial on a small, inconspicuous section before committing to covering the entire sign.
Final Thoughts
Well done! You’ve successfully crafted a mesmerizing glow in the dark sign that can brighten up any space! Despite the minor challenges of hand-painting the letters, the end result is undeniably impressive. Whether you’re a seasoned artisan or a DIY newcomer, this project offers an enjoyable outlet for your creative spirit. Customize it to infuse a touch of magic into your surroundings. Whether you intend it for Halloween festivities, as a storefront sign, or as a piece of home decor, your enchanting masterpiece will continue to emit a lasting sense of wonder.
And as always,
Happy Arting 🙂
Share this post!


