As an Amazon associate, we may earn commissions from qualifying purchases.
Table of Contents
Introduction
Transforming your ceiling into a mesmerizing cloud-filled sky can bring a touch of enchantment to any room. Whether you’re looking to create a dreamy ambiance in your bedroom, a whimsical atmosphere in a nursery, or enhancing the atmosphere of your gaming room, crafting a cloud ceiling is an imaginative and cost-effective way to achieve your desired effect. In this step-by-step guide, we’ll walk you through the process of creating a cloud ceiling using easy-to-find materials. So, let’s dive into the world of creativity and bring the beauty of the sky indoors!
Before You Start
I will link the specific items I used for this project in the materials section. These materials are rent friendly, but if you own your home and aren’t worried about the spray adhesive or the LED lights on your ceiling/walls, you can start with step 1 and then skip to step 5. Also, if you find a better or cheaper alternative, feel free to use it!
Overall the project took me two days. The first day I hung the poster paper and the LED lights. The second day I hung all the poly-fil and cleaned up. I recommend you do it in chunks like this and take lots of breaks. My arms were so sore after having them above my head for extended periods of time.
You can check out the full time-lapse video below!
Materials Needed for Creating A Cloud Ceiling
Scissors: Used for cutting various materials during the installation process.
Step Ladder: Depending on the height of your ceiling you may need one. I was able to get away with using a dinning room chair. Just make sure you are careful with whatever you end up using.
Poster paper: This will serve as the base material for creating the cloud shapes. I choose white, but you can use a different color.
Indoor double-sided tape: Required to securely attach the poster paper to the ceiling. Opt for a high-quality double-sided tape to ensure a strong and long-lasting hold.
Govee color-changing LED lights or equivalent: These lights will add a captivating and dynamic effect to your cloud ceiling. Govee is a popular brand known for their reliable and versatile LED lighting options, but you can also consider other equivalent color-changing LED lights based on your preference and budget.
Poly-fil: This fluffy material is used for the clouds and will give them a realistic and soft appearance. It will help create a three-dimensional effect and make the clouds more visually appealing.
Gorilla spray adhesive: This adhesive is essential for attaching the poly-fil to the poster paper. Gorilla spray adhesive is known for its strong bonding properties and can withstand various conditions.
Gloves: The spray adhesive gets literally everywhere…It’s best to use gloves, so your hands don’t become clouds themselves!
Respirator Mask: Spray adhesive warns that you need to be in a well ventilated area, but if that’s not possible then a respirator is necessary.
With these materials, you will have everything you need to create a captivating cloud ceiling. Make sure to carefully follow any additional instructions or safety precautions provided by the manufacturers of the specific products you choose.
Step 1: Prep the Room
You might not think this is a messy project, but it actually is. The spray adhesive can and will get on everything. So it’s best to empty the room if you are able to. Failing that, you can cover everything as best as you can with a sheet or something washable.
Step 2: Prepare the Poster Paper
The first step in creating your cloud ceiling masterpiece is to prepare the poster paper. Measure the dimensions of your ceiling or wall, ensuring you have enough paper to cover the desired area. I ended up having to run to the store halfway through because I vastly underestimated the amount of paper I would need. If necessary, you can cut the poster paper to fit perfectly.
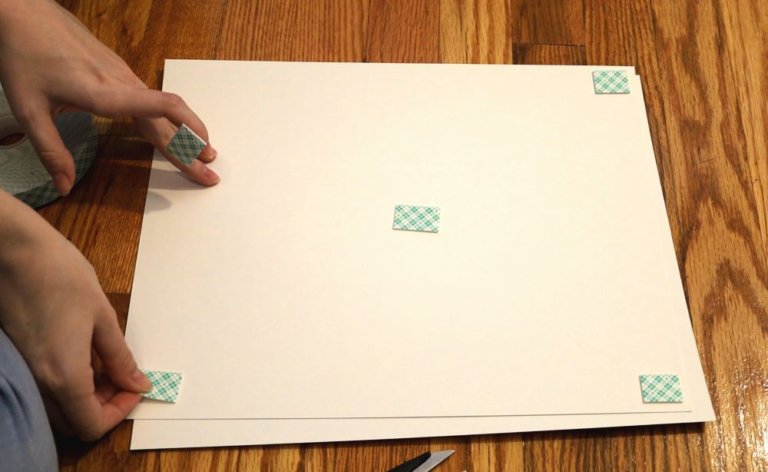
Step 3: Put the Double-Sided Tape on the Paper
Double-sided tape will be your secret weapon in adhering the poster paper to the ceiling or wall securely. Begin by applying the double-sided tape to the corners of the poster paper and then in the middle. Ensure that the tape is evenly distributed to prevent the paper from falling.
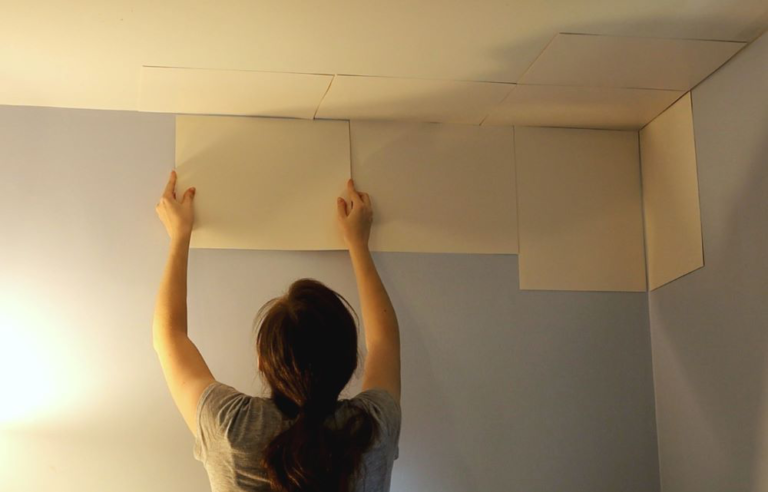
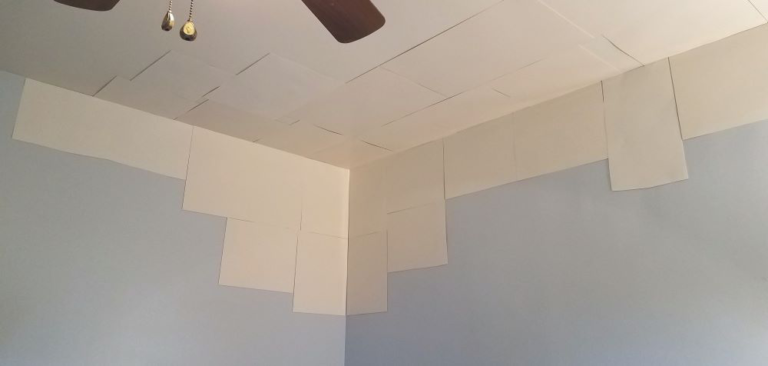
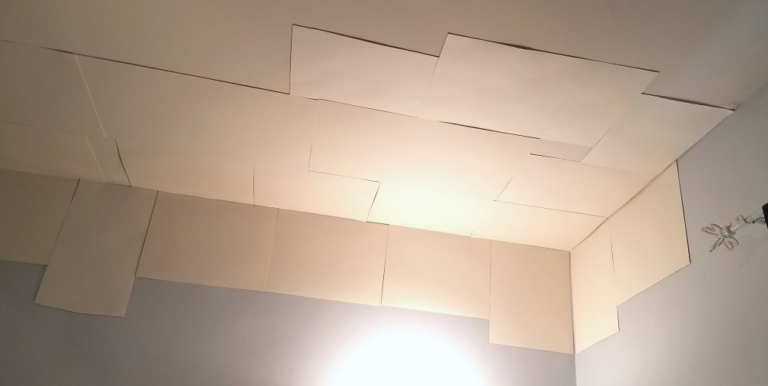
Step 4: Stick the Paper to the Ceiling or Wall
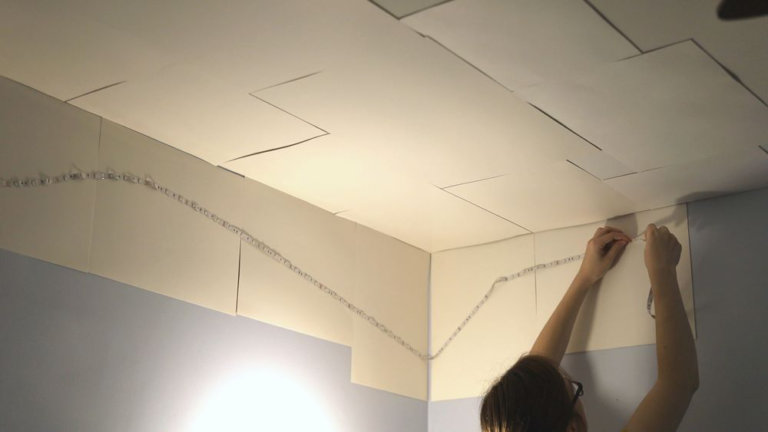
Now, peel the backing off the double sided tape and carefully position the poster paper against the ceiling or wall, in the area you want your clouds to be. You can be as creative as you want with the shape of your clouds. If you are working around a ceiling fan or lights, I would try to give at least a foot or two of clearance just for safety reasons.
Table of Contents
Step 5: Stick the LED Lights to the Paper
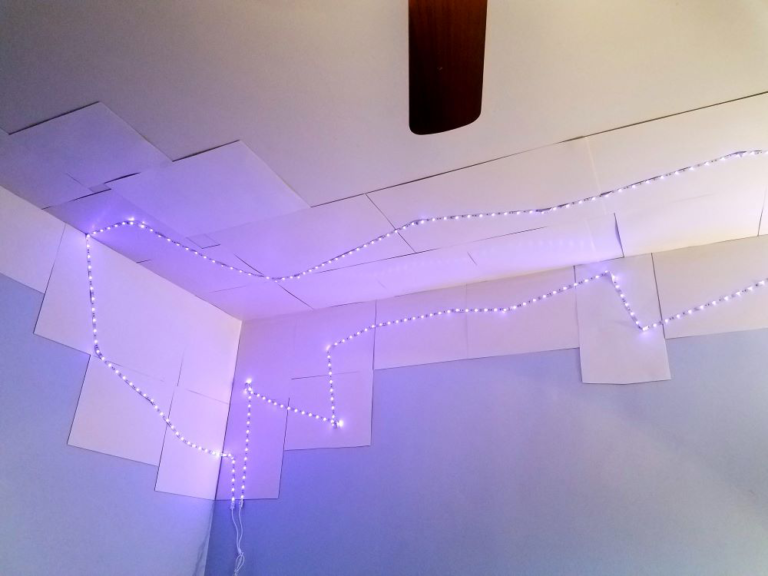
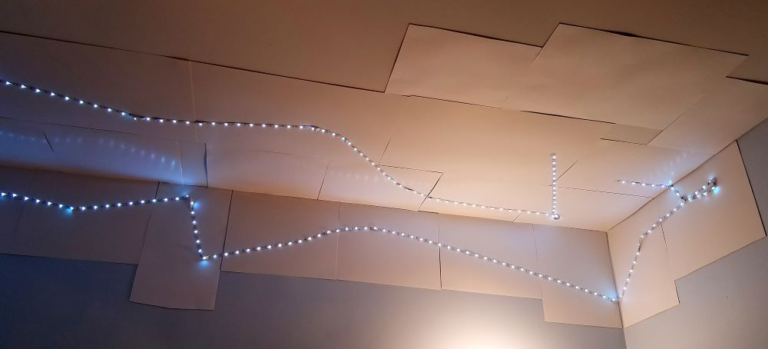
To bring your cloud ceiling to life, strategically place LED lights on the hung poster paper. If you use the Grovee LED lights, they will have an adhesive backing and you can stick them directly to the paper. If you are using different LED lights, you can use adhesive or small hooks to secure the LED lights in place. Just make sure to double check the temperature of the lights as you don’t want them getting too hot. Grovee LEDs don’t get too hot and I haven’t had any issues with them so far.
If you opted to not use the poster paper, you can just attach the LEDs directly to the ceiling and walls. I don’t recommend this if you are renting as it may peel the paint off if you have to take it down.
You can experiment with different light arrangements to achieve your desired cloud effect. Make sure you leave enough space between the light strips though, otherwise you might have too much light in one area and not enough light in another.
Step 6: Use Spray Adhesive to Stick the Poly-Fil to the Paper
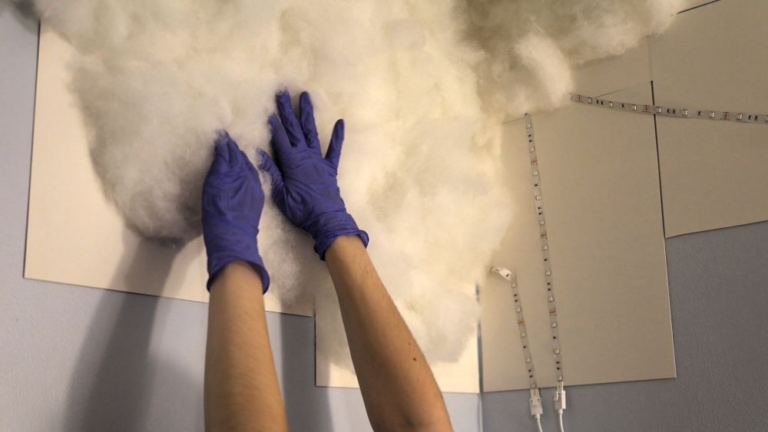
Poly-fil is a polyester fiberfill material that will serve as the clouds in your sky. I wouldn’t use anything except poly-fil for safety reasons. The company even advertises that it can be used in cloud scapes! I got two 32-once bags and I barely had enough to cover the section of my ceiling, so just be prepared you might need more than you think.
Spray adhesive is what I used to attach the poly-fil to the hung poster paper. I originally used Loctite spray adhesive, but after about a week my clouds started falling off… So I switched to the Gorilla spray adhesive and I haven’t had a problem since!
Make sure you are in a well ventilated area, otherwise you’re going to want to use a respirator.
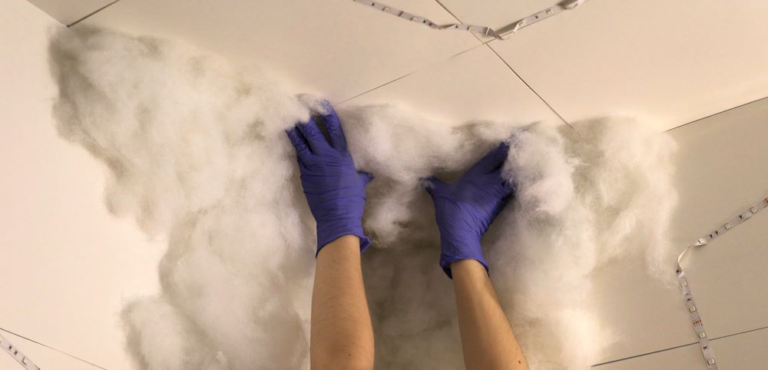
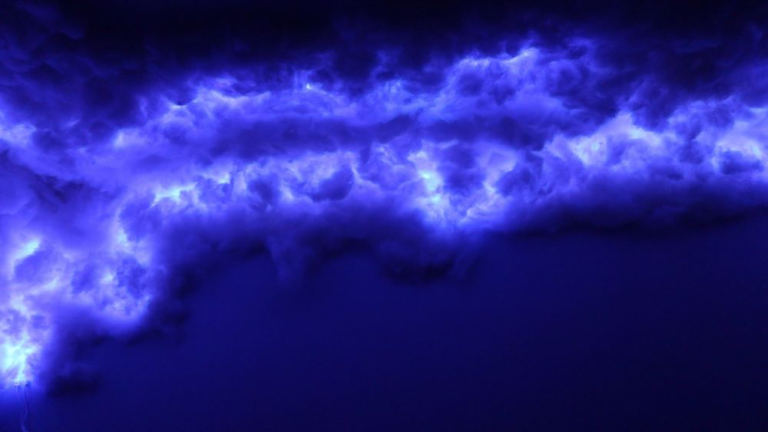
Begin by applying the adhesive generously on the poly-fil. Then, carefully press sections of poly-fil onto the poster paper and hold for a second or two. The spray adhesive doesn’t take very long to dry and once it’s dry you can then gently shape it to resemble fluffy clouds. Continue this process until you’ve covered the desired area, layering the poly-fil to create depth and dimension. Don’t forget to turn on the LEDs and fill in any holes you see!
Tips for Enhancing Your Cloud Ceiling Experience
Experiment with different sizes and shapes of clouds to create a dynamic and realistic effect.
Consider using color-changing LED lights. That way you can change the mood of the room with the push of a button.
Add a touch of whimsy by incorporating glow-in-the-dark stars or moon decals into your cloud ceiling design.
Adjust the brightness of the LED lights to create the perfect ambiance for different occasions or times of day.
Add other things like wall art or plants to make your room more unique.
Conclusion
Creating a cloud ceiling is a delightful and imaginative DIY project that can instantly transform any room into a magical haven. By following the step-by-step instructions outlined in this article, you’ll be well on your way to crafting your very own ethereal sky. Let your creativity soar as you bring the beauty of the heavens indoors, capturing the essence of a starry night or a serene cloudy day. So, gather your materials, unleash your imagination, and embark on this enchanting journey to create a captivating cloud ceiling that will leave both you and your guests in awe.
Did you use this tutorial in making your own cloud ceiling? Did you run into any issues in the process? Let us know your experience in the comments below!
And as always,
Happy Arting 🙂
Share this post!


