As an Amazon associate, we may earn commissions from qualifying purchases.
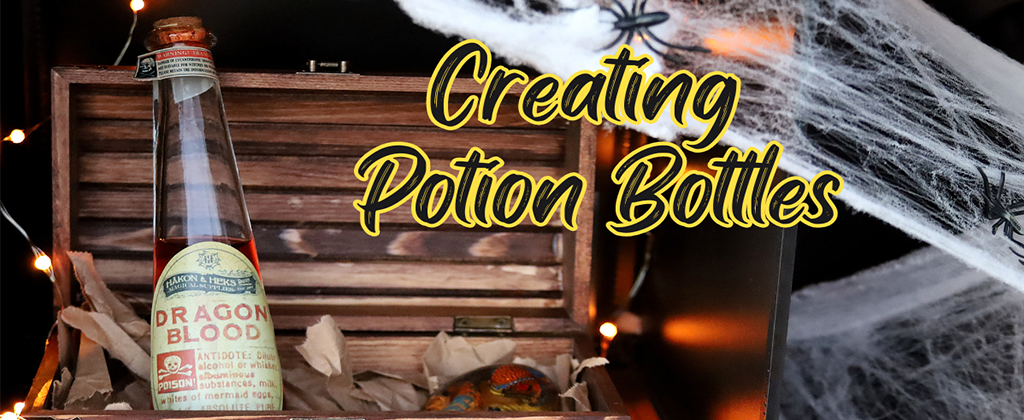
Table of Contents
Intro
Potion making isn’t just for witches and wizards from fantasy books. You can bring a touch of magic into your own world by creating your very own potion bottles. Whether it’s for a Halloween party, a themed event, or simply a unique decor piece, crafting your potion bottles can be a delightful endeavor. In this article, we’ll guide you on how to make your own potion bottles with labels, potion, and optional elements for a magical touch. Whether you’re a seasoned crafter or a novice, this DIY project is certain to delight! Let’s dive in and add a touch of magic to your life!
Before You Start
I will link the specific items I used for this project down in the materials section.
I originally did this project as part of a larger Halloween Trunk-or-Treat event. It took roughly a day to complete. The hardest part was making sure the labels fit nicely on the bottles. Mixing the potions was a lot of fun, though! I was running short on time for this project, so I couldn’t seal the bottles properly or add some extra touches.
You can check out the full time lapse video below!
Materials You’ll Need To Create Your Potion Bottles
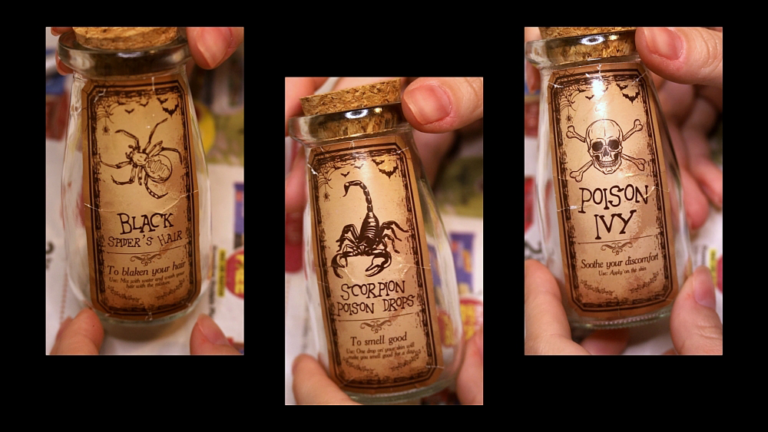
Potion Labels – It’s a good idea to figure out the labels before you buy the bottles. You can create your own labels, but I didn’t have time, so I bought ready-made stickers from Amazon.
Potion Bottles – If you measure the labels first, you’ll have an easier time finding bottles that are the right size. The ones I bought from Amazon were just big enough for my stickers, so always double-check your measurements.
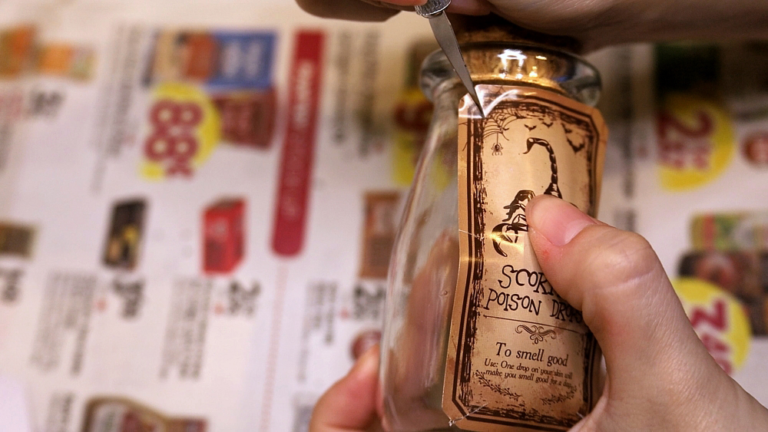
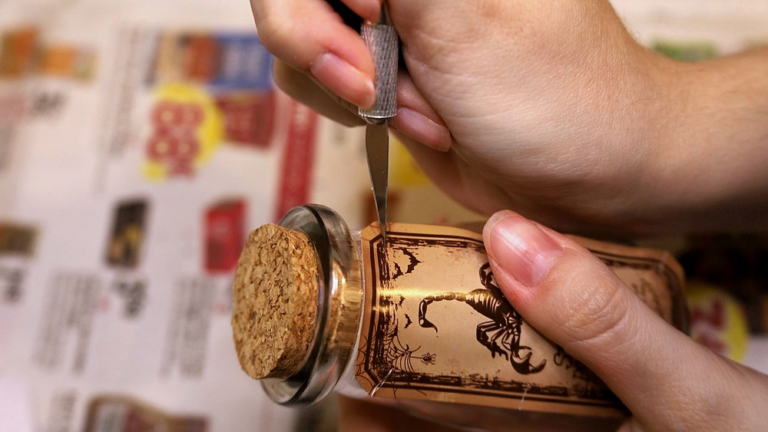
An Exacto Knife – You may or may not need an exacto knife. I had to use one to cut along the sides of my stickers so they could conform better around the bottles. If you choose square bottles, you probably won’t have this issue.
Extra Mixing Cup – I used a plastic beaker I had on hand to mix the potions in. You can mix everything right in the potion bottle if you prefer.
Water – You’ll need water as the base for your magic potions. Don’t use anything related to food or drinks, as it could lead to mold problems later.
Food coloring – This is what you’ll mainly use to color your potions.
Luster Dust – This is what will make your potions glimmer and shine!
Sealant (optional) – If your labels don’t adhere well to the bottles or if you want an extra protective layer, consider using a sealant like Mod Podge.
Hot Glue Gun (Optional) – If you want to seal the bottle tops in place, you’ll want to use a hot glue gun or something similar.
Step 1: Prepare Your Materials
To start your potion bottle crafting adventure, you’ll want to gather all the necessary materials. It’s far more convenient to have everything prepared in advance rather than having to scramble to locate your supplies.
Additionally, you’ll want to make sure your potion labels fit your bottles before you start. The worst thing is finding out you can’t work on a project after sitting down to do it.
Depending on whether you plan to incorporate anything extra into your potion bottles, your materials list may vary. I recommend taking some time, before you begin, to make a list of all the items you might need for this project.
Step 2: Apply Stickers or Labels
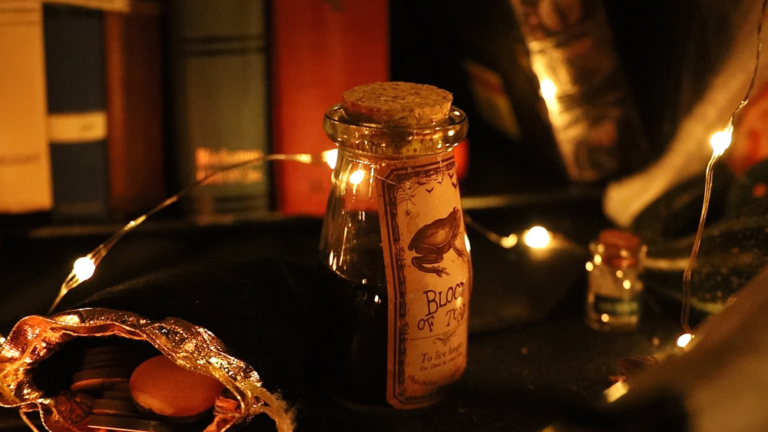
Take your time and carefully apply the stickers or labels you have selected onto the bottles. If they aren’t fitting nicely on the bottles, you can use an exacto knife to make small cuts along the sides. This allows the label to conform better with the shape of the bottle. It’s okay if there’s a small overlap. In my opinion, this gives the label a weathered and vintage look, which worked great for my project.
If your labels are struggling to stick, try firmly rubbing a hard object against the label to enhance adhesion. If that doesn’t do the trick, you can also consider using glue or Mod Podge.
Table of Contents
Step 3: Mix Your Potions
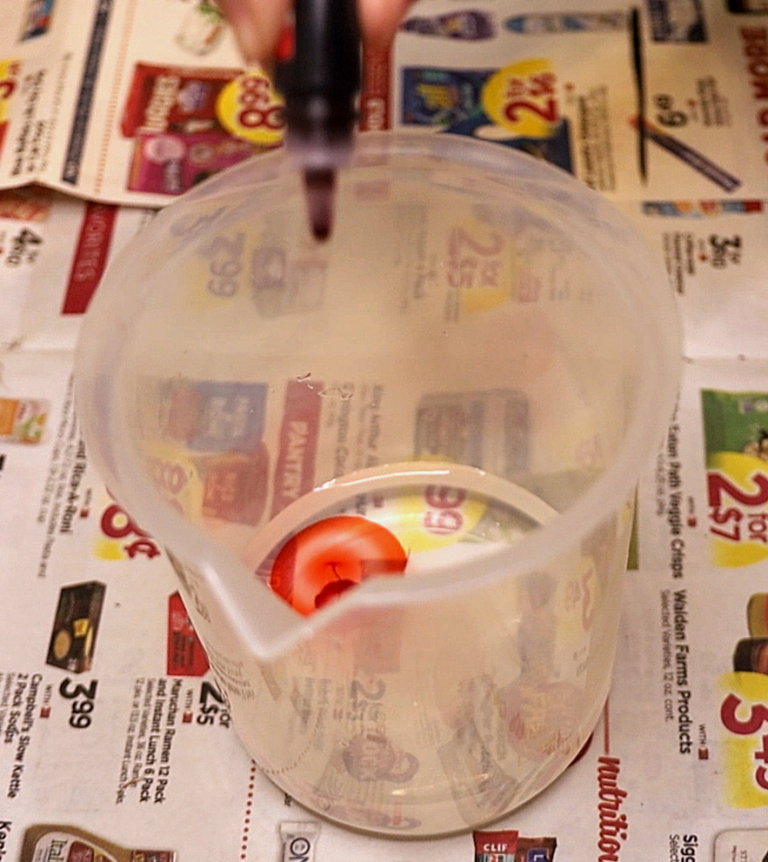
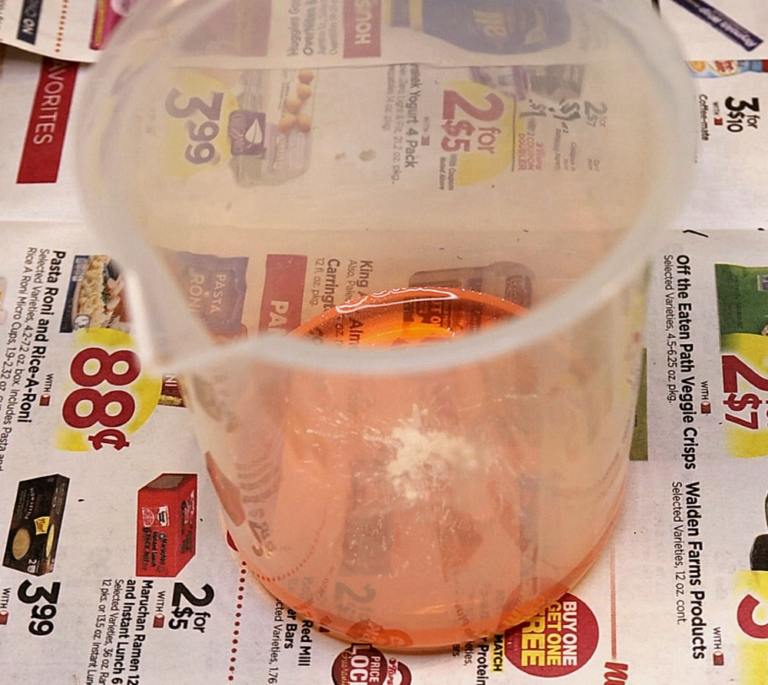
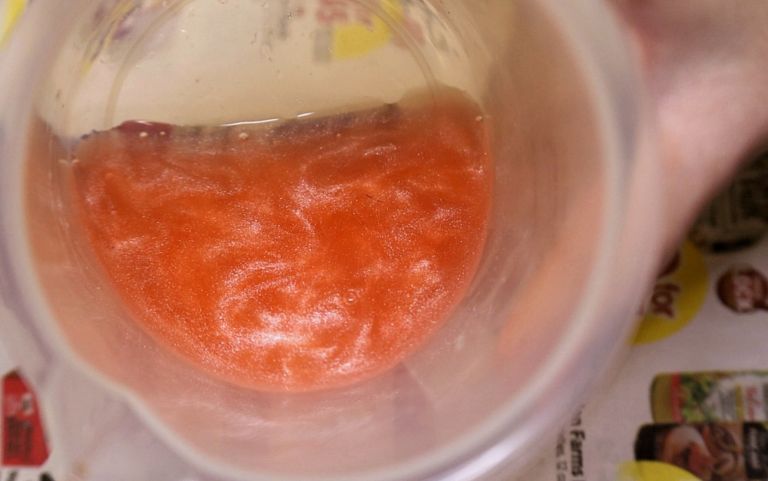
Now comes the fun part – creating the magical potions! For mixing, I used a plastic beaker I had lying around, but feel free to use whatever container suits you. If you prefer, you can even mix the ingredients directly in the potion bottle.
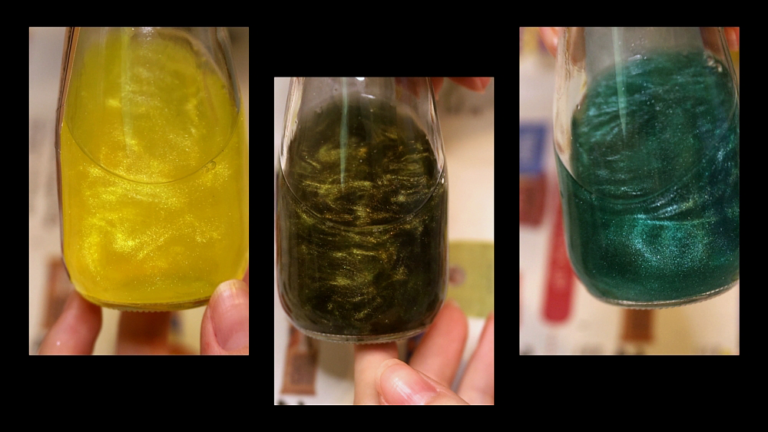
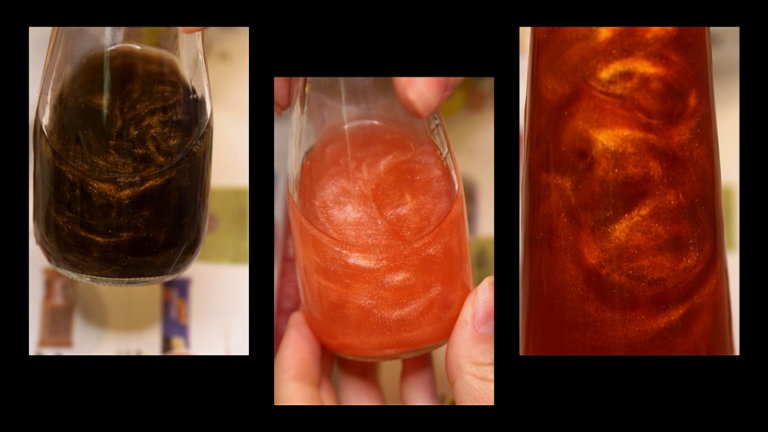
Begin by filling each bottle with your desired amount of water and then transfer that water to an additional container. After that, add food coloring and luster dust to achieve the specific potion effect you’re aiming for. There is no set formula for this step. Let your creativity run wild and experiment until you attain the perfect appearance for each bottle. If you’re having trouble getting it just right, don’t hesitate to start over.
Moreover, you’re not limited to using food coloring or luster dust. You can also consider using other elements such as glitter or mica powder to add some extra flair to your potions.
Step 4: Get Creative
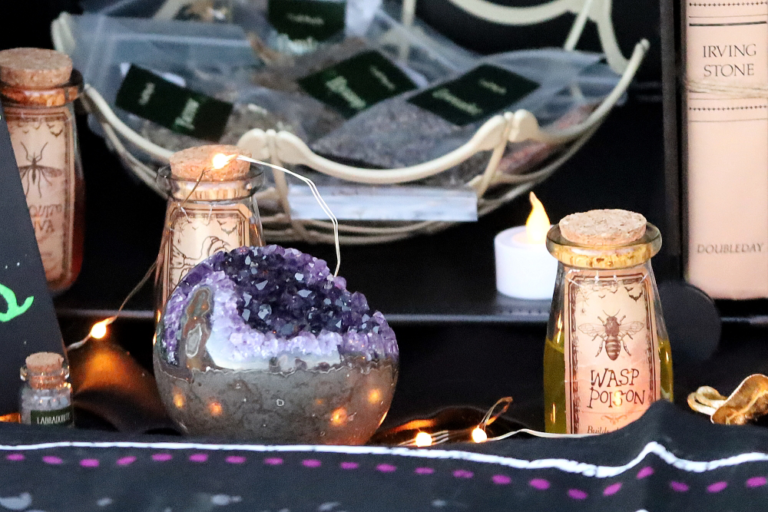
You don’t have to limit yourself to just liquid potions. If you have extra bottles lying around, consider filling them with unique items from around your home. For example, one of the stickers I bought had “cat whiskers” written on it. Since I have a pet cat, I went around and collected a few of their whiskers and placed them inside the bottle. The possibilities are endless, as you can customize your choices to match the theme of the label. Think about adding trinkets, gemstones, fur, or any other fascinating objects that catch your attention. Let your creativity flow freely!
Step 5: Seal the Bottles (Optional)
If you want to ensure your potion bottles are leak proof, you can seal the cork stoppers in place using a hot glue gun and a product like Mod Podge. This step is especially useful if you plan to display your potion bottles for an extended period as it adds an extra layer of protection. If you’re short on time, like I was, the bottles will still have a charming and whimsical appearance without additional sealing.
You may also find mod podge helpful if your labels are having trouble adhering to the bottle or if you’re concerned about them falling off. The stickers I purchased from Amazon were pretty sticky, so I have encountered no issues with them thus far.
Step 6: Add Extra Flourishes (Optional)
Adding extra flourishes to the appearance of your potion bottles is a creative choice that can enhance their visual charm. Here are some imaginative ways to give your elixirs that extra touch of magic:
Playful Labels: Consider attaching whimsical labels to your bottles using rustic twine. You can personalize them to match the theme of your potion, be it spooky Halloween brews or mystical wizard concoctions. These labels can feature creative names, descriptions, and even hand-drawn illustrations.
Rustic Twine: For a simpler but equally charming look, skip the labels and use rustic twine alone. Wrapping twine around the neck of the bottle or creating intricate patterns can add a rustic and earthy feel to your potions. You can even attach dried herbs or flowers to the twine for a more organic and enchanting appearance.
Wax Seals: For a touch of authenticity and elegance, consider sealing your potion bottles with wax. Use a wax seal stamp with a unique symbol or monogram to create an air of mystery and enchantment. The wax not only adds visual appeal but also ensures that your elixirs remain securely sealed until their intended use.
Glitter and Sparkle: If you’re going for a more whimsical or fantasy-inspired look, you can incorporate some glitter or shimmer. Apply a thin layer of glue or mod podge to specific areas of the bottle and then sprinkle with fine glitter. This will give your potions a magical appearance, perfect for fairy potions or magical elixirs.
Potion Charms: Attach small trinkets or charms to the neck of the bottle using twine or ribbon. These can represent the intended purpose of the potion or simply add a touch of mystery and intrigue.
Remember, the finishing touches are the icing on the cake, transforming your creations into truly enchanting elixirs. Let your creativity run wild and don’t be afraid to experiment with different ideas to make your potion bottles uniquely captivating.
Final Thoughts
Crafting your own magical potion bottles is a creative project and it’s a great way to add some enchantment to your life. From putting on labels to mixing your special potions, you have lots of room for personalizing your bottles. You can seal them or add extra decorations, letting your imagination run wild. So, whether it’s for a party, a special event, or just to spruce up your space, crafting your own potion bottles is a wonderful way to add a touch of magic to your life. Enjoy the creative process and let your unique potions become a symbol of your imagination and DIY magic. So, let your creativity flow freely, and may your potion bottles captivate all who behold them!
And as always,
Happy Arting 🙂
Share this post!


