As an Amazon associate, we may earn commissions from qualifying purchases.

Table of Contents
Introduction
Are you tired of the persistent echo in your room, or perhaps you’re seeking to add a touch of style and sophistication to your space? I sure was! So I created my own custom acoustic panels!
Acoustic panels are used to control sound reflections, reduce echo, and absorb unwanted noise. They also let you add your personal style and give your room a unique charm. So, why not dive in and create your own unique sound panels? Your room, your rules!
Before You Start
I will link all the materials I used for this project down in the materials section. Everything is rent friendly, but if you want to change it up, feel free to do so!
Overall, the project took me about two days. On the first day, I planned out where I wanted to hang them, what design I wanted for the acoustic foam, and I was able to get halfway through painting everything. The second day, I finished up painting, attached the acoustic foam to the foam boards, made some slight adjustments, and hung the final product on the wall!
You can check out the full time lapse video below!
Materials for Creating Custom Acoustic Panels
Ruler and Pencil – Used for mapping out the initial design.
Foam Boards – This is what you’ll be painting and attaching the acoustic foam to. These will then be hung on the wall. I believe I just got mine at Walmart, but you can easily get them from Amazon too.
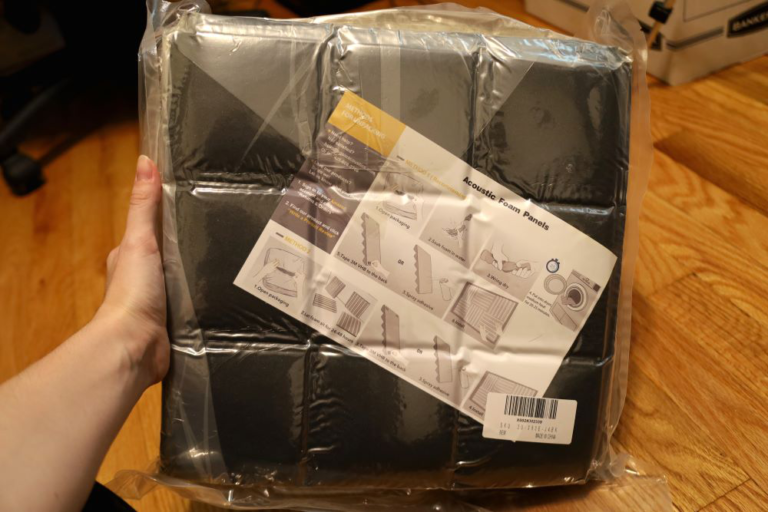
Acoustic Foam Panels – These are the foam panels that help absorb sounds. They normally come compressed, so you’ll have to follow the directions to get them to fluff up.
Gesso – I didn’t think the paint would stick well to the smooth surface of the foam board. So I painted on a layer of gesso first. It makes the surface slightly rougher, so the paint has more adhesion.
Paint – I used FolkArt Metallic 871E Pure Gold, but you can really use any brand or any color you want. If it’s a thinner paint, you may have to do more than one coat to get the desired shade.
Gorilla Spray Adhesive or Indoor 3M Tape – Required to attach the acoustic foam to the foam board. You can use whichever one you prefer, though I think the spray adhesive has a better hold than the 3M tape.
Command Strips – These are used to attach the final product to the wall. I recommend using the Velcro command strips so that you can easily take the panels down if need be.
Now you have everything you need to create your own custom acoustic panels! Make sure to follow any additional instructions or safety precautions provided by the manufacturers of the products you choose.
Step 1: Gather Your Supplies
The smartest way to kick off a project is to have everything ready beforehand! This means you won’t have to pause in the middle of your project and rush to the store for something. That’s why I always suggest you be as prepared as possible. Then you can really dive into the project without fretting about stuff you might be missing. So, don’t forget to give the materials list a good double-check before you dive in!
Step 2: Prep the Acoustic Foam Panels
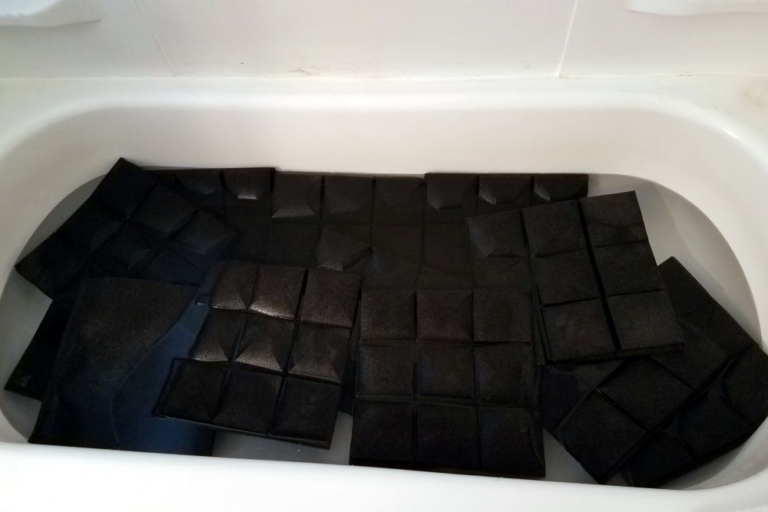
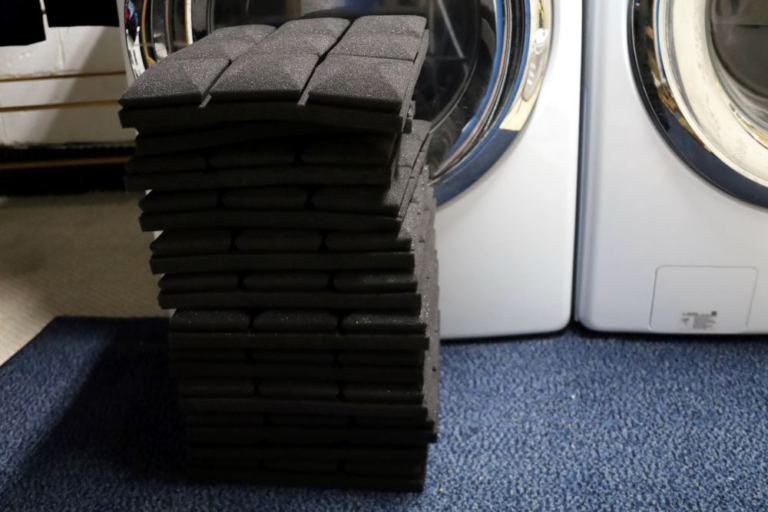
The process of preparing acoustic foam can vary based on the brand you purchase. They normally come compressed, so you’ll have to follow the directions to get them to fluff up. In my case, the instructions were:
Open packaging
Soak foam in water
Wring dry
Put into dryer, medium heat for 20-25 minutes
The directions said you could let them sit for 24-48 hours instead of letting them soak in water, but I had my doubts, so I instead chose the water-based approach. I found I needed to extend the drying time beyond the recommended duration in the instructions. This might have been influenced by my dryer, but I closely monitored the process to prevent any possibility of the foam melting.
Table of Contents
Step 3: Designing Your Panels
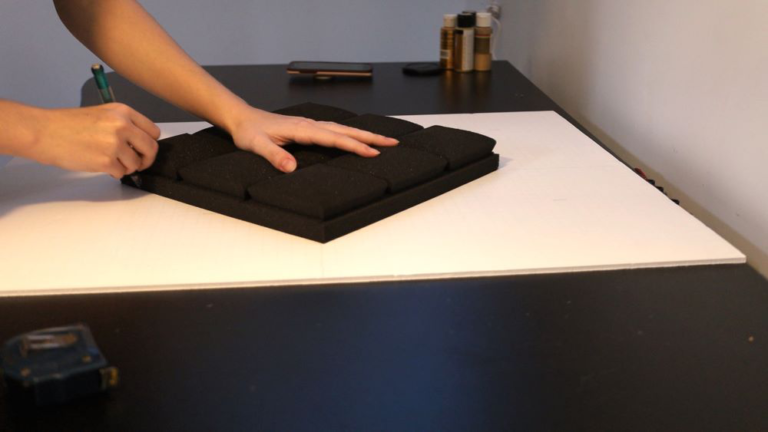
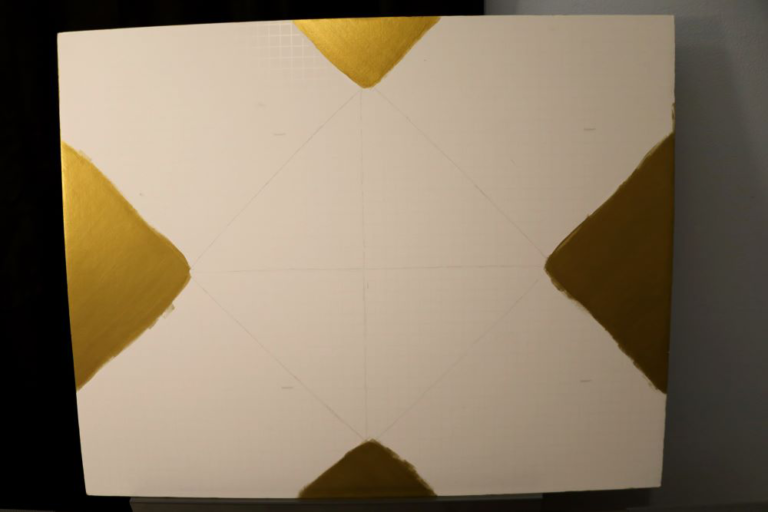
First things first – pick the room where you want those panels. Then, decide which wall you want them on. Once you’ve got that sorted, it’s time to get creative with your custom acoustic panels! There’s a bunch of stuff to consider: how many acoustic foam squares you have, their sizes, the wall space available, how big your foam boards are, and how many you have. Grab a pencil and ruler and roughly sketch out your plan. This step helps you picture how it’s all gonna come together in the end. And hey, don’t sweat it – you can always tweak the design as you roll along. So, spend as much or as little time as you feel like on this part.
Step 4: Applying Gesso
Because of the sleek surface of the foam board, I was worried the paint wouldn’t stick very well. So I first applied a few layers of gesso. Gesso is like a primer that you can put on things to make the paint grip better. You are welcomed to skip this step if you wish, but I undertook it as a preventive measure. The application of gesso mirrors the process of applying conventional paint. Although predominantly available in white, gesso can also be obtained in alternative colors if white doesn’t work for your project.
Step 5: Painting The Foam Boards
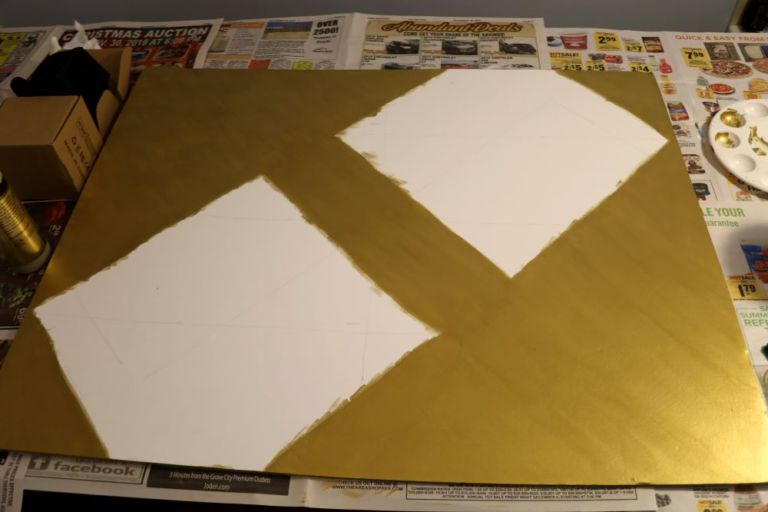
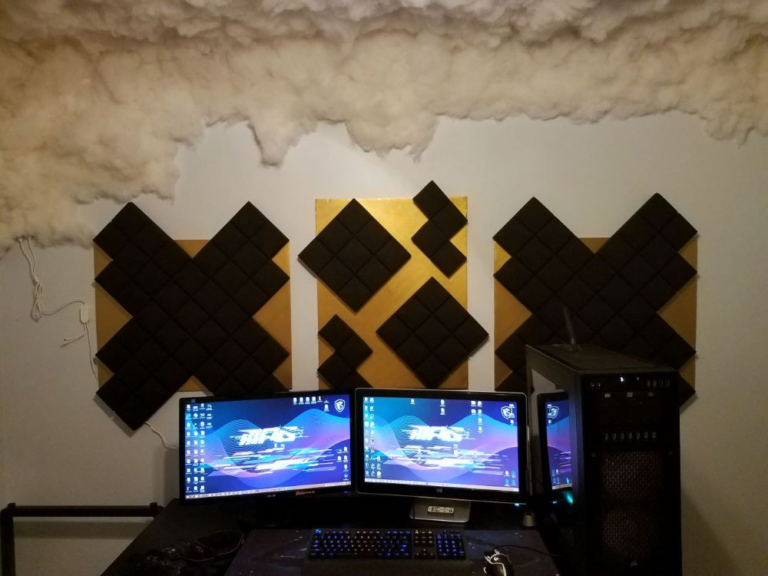
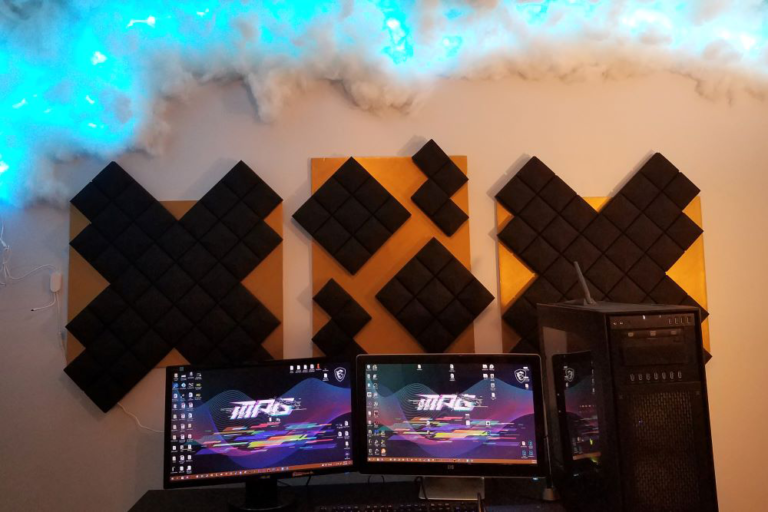
After applying the gesso and giving it sufficient time to dry, I applied the paint that I had selected. I choose a gold color since the room was mainly going to be used for gaming. I had also already created a custom cloud ceiling in this room, so I believed the gold would complement it nicely.
Depending on the type of paint you end up using, you might need to apply multiple coats. This was certainly the case for me, as the paint I opted for was quite thin. While I could have easily gone out and purchased a thicker paint of the same color, I wanted to use what I had on hand first. It was a little more time consuming, but the final result was absolutely satisfying and made all the effort worthwhile.
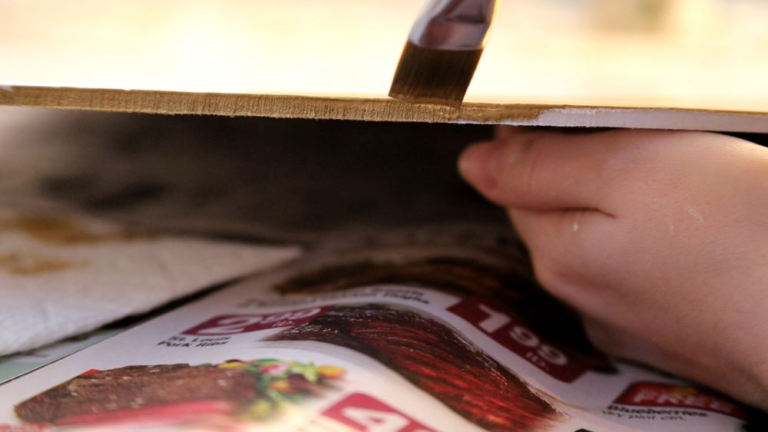
And of course, a little reminder – remember not to overlook the importance of painting those edges!
Remember to apply gesso and paint only to the areas where you won’t be placing the acoustic foam. I did extend slightly beyond the marked lines to ensure the foam board remains concealed. This can help when you add the acoustic foam later, as you’ll have a clear guide for where it’s supposed to go. You’ll also be able to visualize the final product better and you won’t be wasting any more supplies. If you decide to switch up the design later, no sweat – just go back and paint up the spots you want.
Step 6: Adding the Acoustic Foam
Once the paint’s all set, the next step is to add the acoustic foam!
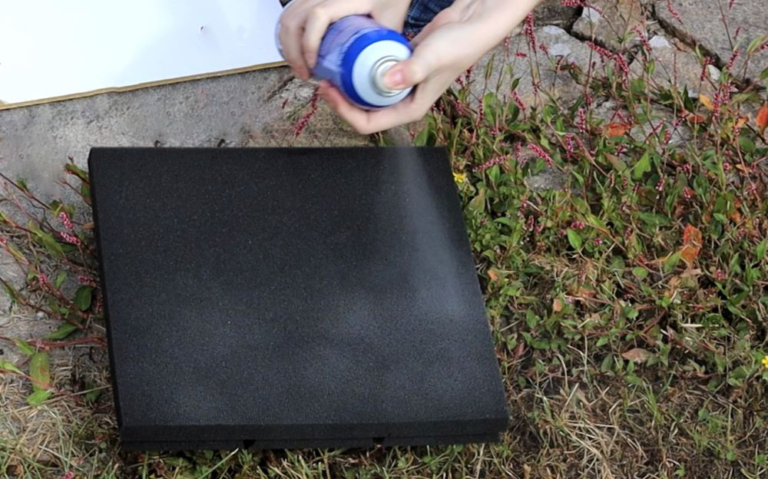
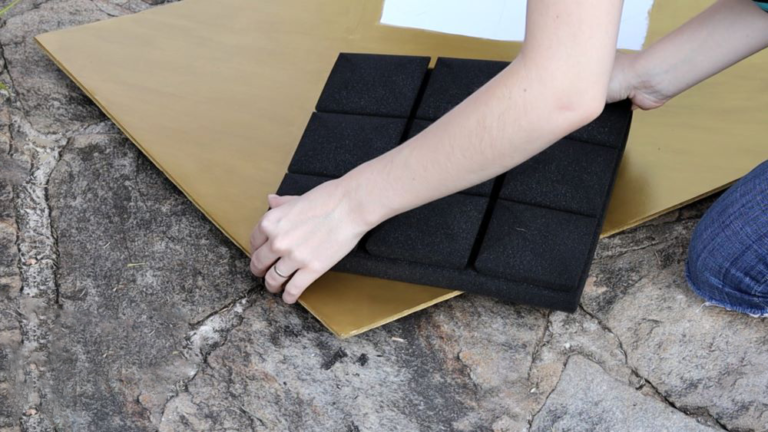
For this step, I used Loctite Adhesive Spray, but I definitely recommend using the Gorilla Spray Adhesive instead. It holds so much better and you won’t have to worry about the acoustic foam falling off. I recommend doing this outside if possible, as adhesive spray tends to get everywhere. The product guidelines also recommend application in a well-ventilated environment.
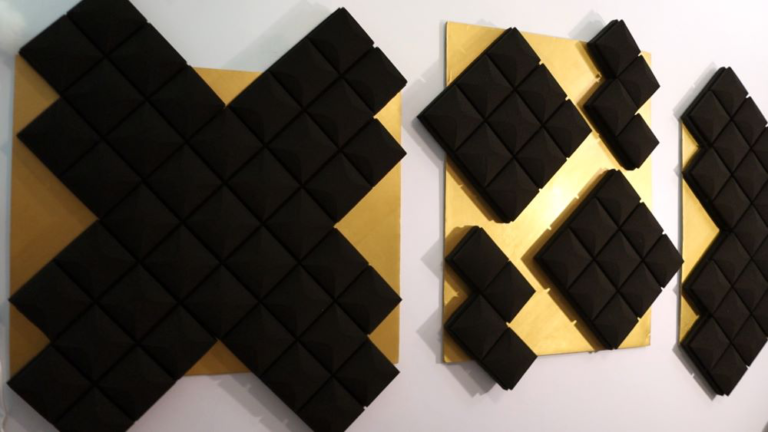
Since I didn’t paint the areas where I wanted my acoustic foam, this process was super easy! All I had to do was spray them with the adhesive spray, stick them on the foam board, and make sure the area I didn’t paint wasn’t showing around the edges. That was it!
Step 7: Improvising Is Okay
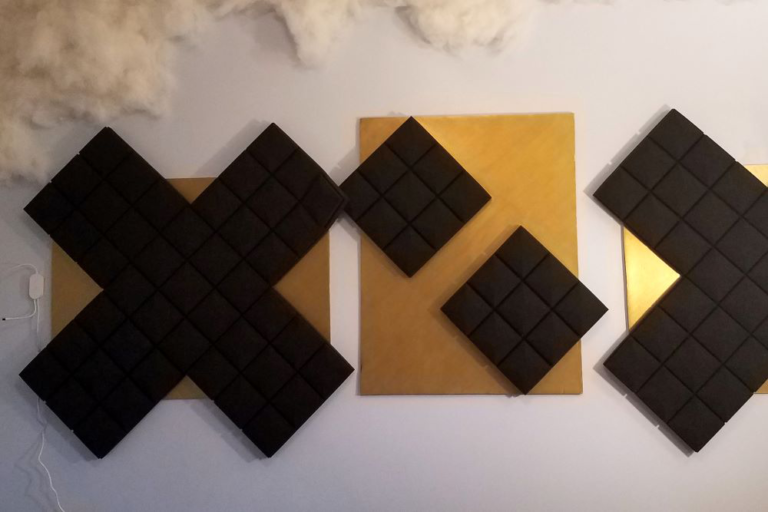
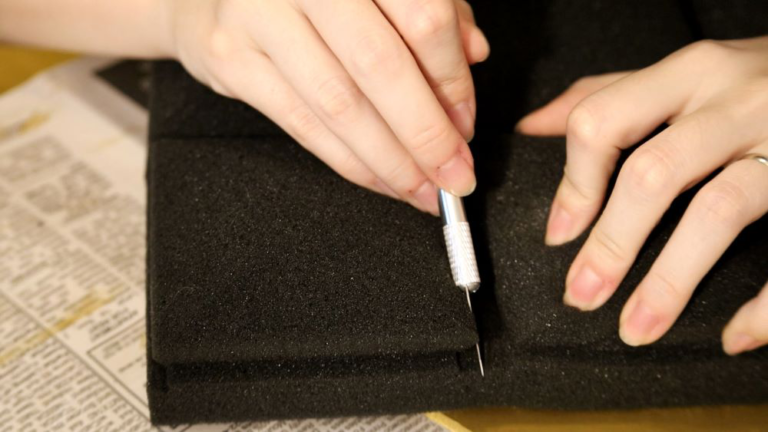
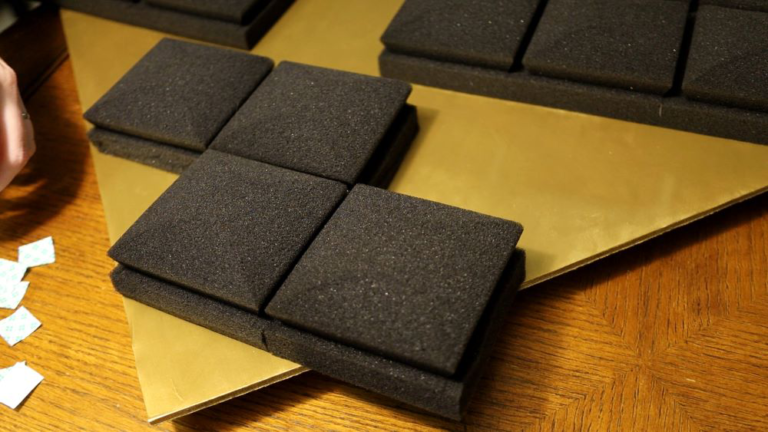
So, when I was putting up the panels, I realized a bit too late that my acoustic foam was actually bumping into the other panels. So I had to go back in with an exacto knife and I cut one of the square sections off from each corner. I didn’t want those pieces to go to waste, so I added them to the design on the center panel with some spare 3M tape. It was storming outside, so I didn’t want to use the spray adhesive indoors. Since I did not paint under the squares I removed, I went back and painted them, being careful not to get too much paint on the acoustic foam.
In the end, it all worked out perfectly! Sometimes you have to improvise when things don’t exactly work out. That’s just part of the creative process!
Step 8: Hanging the Final Product
To hang the finished panels, I used Velcro command strips. I wanted to be able to take the panels down as needed, so I thought these would be the best option. I used one pair of Velcro command strips for each corner. I used a leveling laser to make sure I lined them up straight, but if you don’t have one of those, you can easily just eyeball it.
If you’re using these panels to combat room echo like I was, I recommend putting them on the wall in front of your voice. So essentially you’re talking into the panels. The echo in the room has decreased between the acoustic panels and the custom cloud ceiling.
Tips to Enhance Your Custom Acoustic Panels
Integrate LED light strips along the edges of the panels to add some extra flair.
Explore boundless creative possibilities with color-shifting or glow-in-the-dark paint, ensuring a truly unique aesthetic.
Instead of creating hanging panels, you could embrace the entire wall as your canvas.
Do they make sprayable glitter? You could totally coat the acoustic foam with glitter spray.
You could layer the acoustic foam to create a mesmerizing 3D effect.
Conclusion
In short, making your own acoustic panels is a fun project that combines good looks with better sound. Just follow these steps to turn regular rooms into places with cooler sights and sounds. These panels add personal style to your space and improve sound quality by reducing echoes and refining the ambiance. And with the extra tips we give you, like adding LED lights, using cool paints, or trying different designs, you can easily make them your own. This makes sure what you end up with works great and shows off your unique style.
Did you use this tutorial in making your own custom acoustic panels? Did you run into any issues in the process? Let us know your experience in the comments below!
And as always,
Happy Arting 🙂
Share this post!


