As an Amazon associate, we may earn commissions from qualifying purchases.
Table of Contents
Intro
If you have a passion for fantasy and dragons, then you’re in for a treat with this DIY project that seamlessly blends creativity and craftsmanship. Prepare to be captivated as we delve into the realm of crafting an enchanting dragon egg chest. These magical chests are both beautiful decorations and perfect for storing powerful magical artifacts. They are also a thoughtful gift idea for any fantasy enthusiast! In this DIY guide, we will unravel the secrets and sorcery behind creating these chests. So, gather your crafting materials and prepare to embark on a journey that combines artistry, imagination, and a dash of magic. Let’s get started!
Before You Start
I will link all the materials I used in this project down below in the materials section. Feel free to change things up and add your own personal touch to this project!
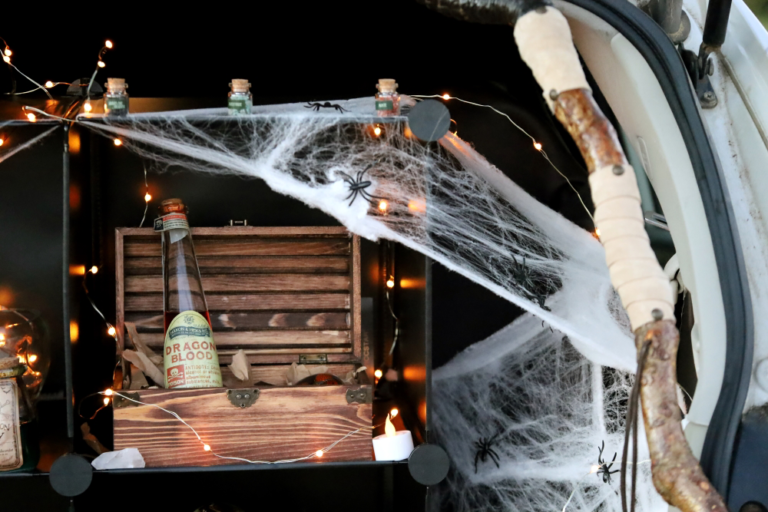
I originally did this project as part of a larger Trunk-or-Treat project for Halloween.
I was able to complete this project in two days. I could have completed it in one, but I wanted to make sure the stain was fully dry so I waited 24 hours before I added the paper, the dragon eggs, and the other items.
You can check out the full time lapse video below!
Materials You’ll Need to Craft A Dragon Egg Chest
Wooden Chests – I purchased one chest from Hobby Lobby and I got the other one off of Amazon. There are also other chests available if you prefer not to use one made of wood.
Sanding Paper – If the chest has any rough edges or splinters, you can use sanding paper to smooth them out.
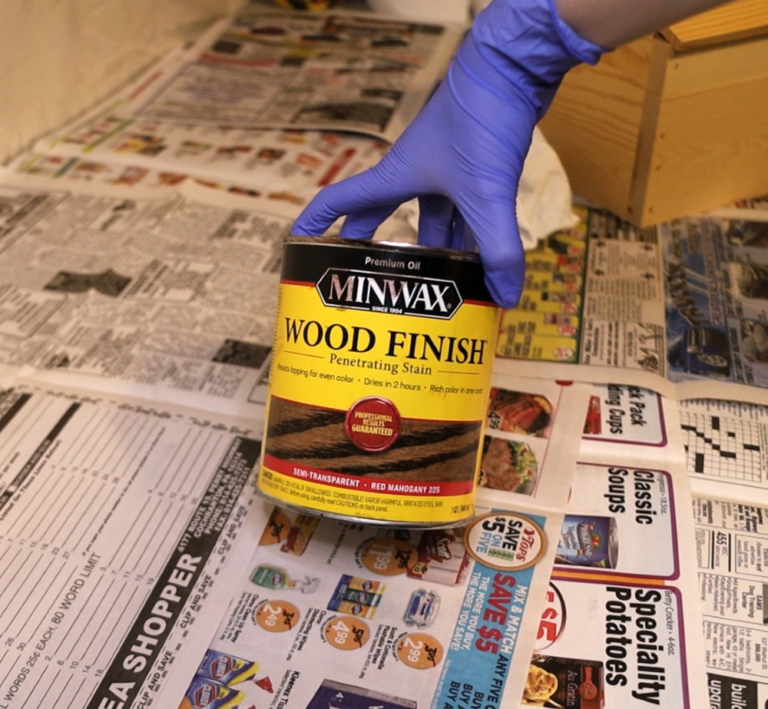
Wood Stain – The specific stain I used is Minwax Red Mahogany 225 Premium Oil stain. I bought the stain from Home Depot, but they also have it available on Amazon. You could also paint your dragon egg chest instead of staining it if you prefer.
Drop Cloth – This will protect the surface you’re on from the stain. You can also use newspaper if you don’t have a drop cloth handy.
Staining Rag – I used a cloth rag to apply the stain, but you can also use a stain applicator or a brush if you wish.
Gloves – You can’t apply stain without gloves!
Brown Packing Paper – I specifically used the brown packing paper that comes in the boxes from Chewy. They have similar packing paper on Amazon if you don’t have any floating around. You can also swap the packing paper out for any material of your choice.
Dragon Eggs – All the dragon eggs I have were gifted to me by a friend, but you can get them on Amazon and even Etsy. If you have a 3D printer or have a friend who has a 3D printer, there are some dragon egg designs floating around on Thingiverse and other similar websites as well.
Other Items – In the final Trunk-or-Treat project, I added some potion bottles to my dragon egg chests as well. This is optional though and you don’t have to add anything extra if you don’t want to.
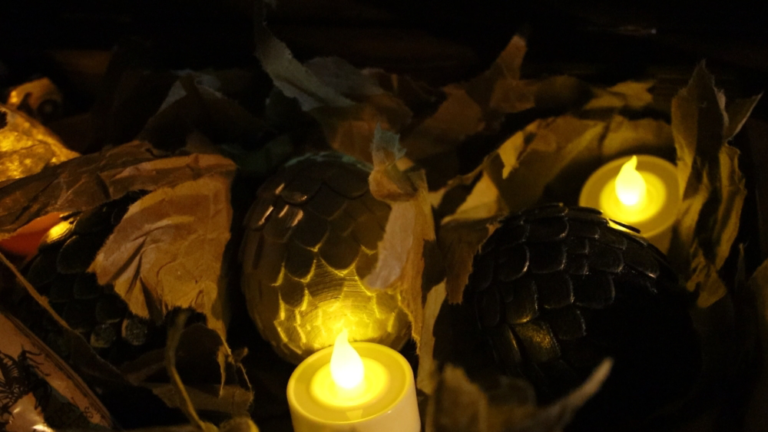
Tea Lights – I used flameless tea lights in my project, but you can also use fairy lights or LED lights. You can also choose not to add any lights at all! It’s totally up to you!
Make sure to carefully follow any additional instructions or safety precautions provided by the manufacturers of the specific products you choose.
Step 1: Prepare Your Chests
Begin by ensuring your wooden chest is clean and free from any dust or debris. If it has any rough edges or splinters, gently sand them down for a smoother finish, taking care not to damage the wood’s surface. This step provides a clean canvas for your dragon egg chest. It ensures that it is safe to handle and won’t snag on any delicate fabrics or materials you might store inside.
Step 2: Stain or Paint Your Chests
Next, consider the color or finish you want for your dragon egg chest. You can choose to keep the natural wood look by applying a clear varnish or you can use wood stain for a more rustic feel. Alternatively, if you prefer a more whimsical or fantastical appearance, opt for vibrant paints that mimic the scales of a dragon egg. They also make colored stains if you prefer the staining method. Remember to let each layer of paint or finish dry completely before applying the next.
Follow these steps to stain your chests:
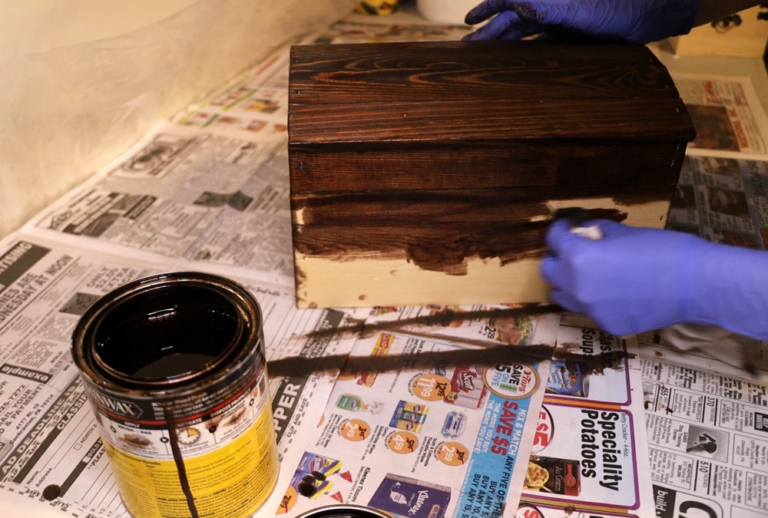
Make sure you’re in a well-ventilated area and put on gloves.
Lay down a drop cloth or old newspaper to protect your workspace.
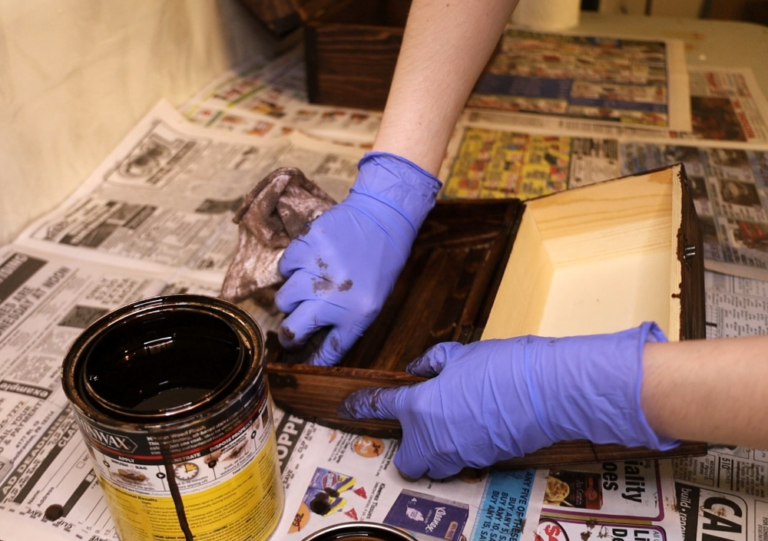
Apply the wood stain evenly using a brush or a cloth, following the manufacturer’s instructions and safety precautions.
Allow the stain to dry completely. This may take a few hours, so be patient.
If you opted to paint your chests, you can follow these steps:
Lay down a drop cloth or some newspaper to protect your workspace.
Apply the paint using a brush. You may need more than one coat depending on the paint used. Make sure the paint is completely dry before adding another coat.
Once the paint is dry, you can add a protective layer of acrylic varnish.
Table of Contents
Step 3: Add The Padding
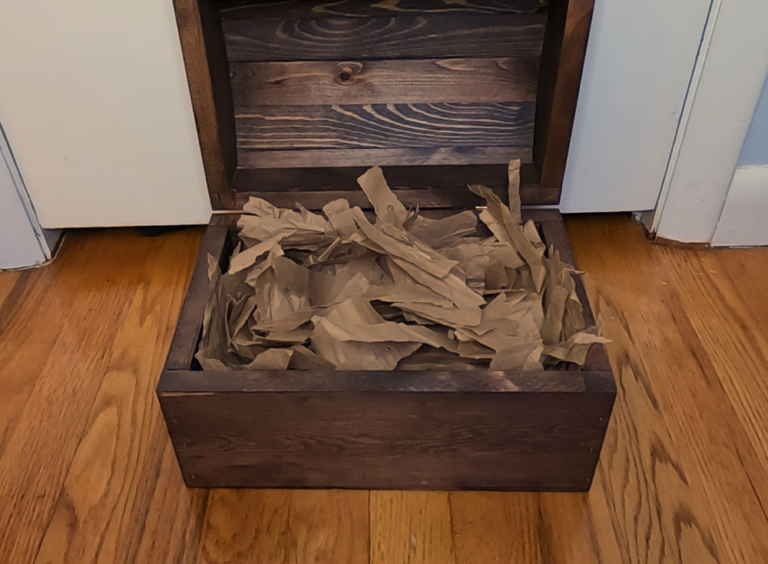
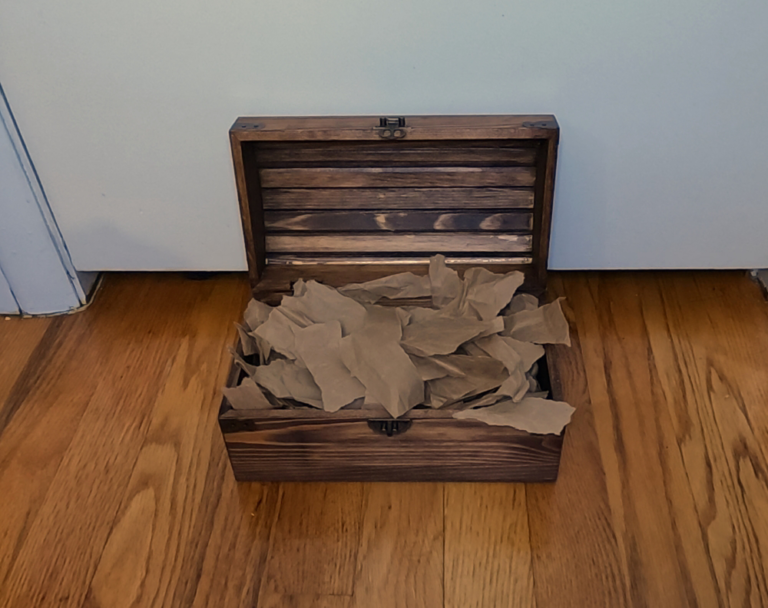
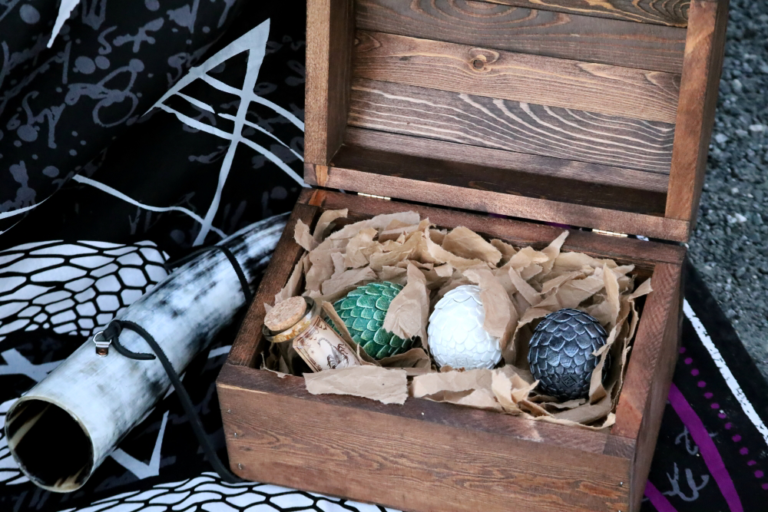
In this step, you’ll be adding the brown packing paper into your dragon egg chest to provide a protective layer for the delicate eggs. For selecting the padding material, you can choose whatever suits you best. Personally, I had some spare brown paper from a previous order from Chewy, so I decided to use that. You can tear the paper into various sized pieces and then place them inside the chest to ensure the eggs are snug and secure. If you want, you can crumple the paper a little to give it a more aged look. This extra layer of padding will help safeguard your precious dragon eggs (and anything else you choose to add) throughout their journey.
Step 4: Add the Dragon Eggs
The heart of your dragon egg chest lies in the dragon eggs themselves. All the dragon eggs in my possession were kindly gifted to me by a friend. However, you can find dragon eggs available for purchase on platforms like Amazon and Etsy. Additionally, if you have a 3D printer or know of someone who does, you can find dragon egg designs on websites like Thingiverse. You can then print and paint them instead of having to buy them!
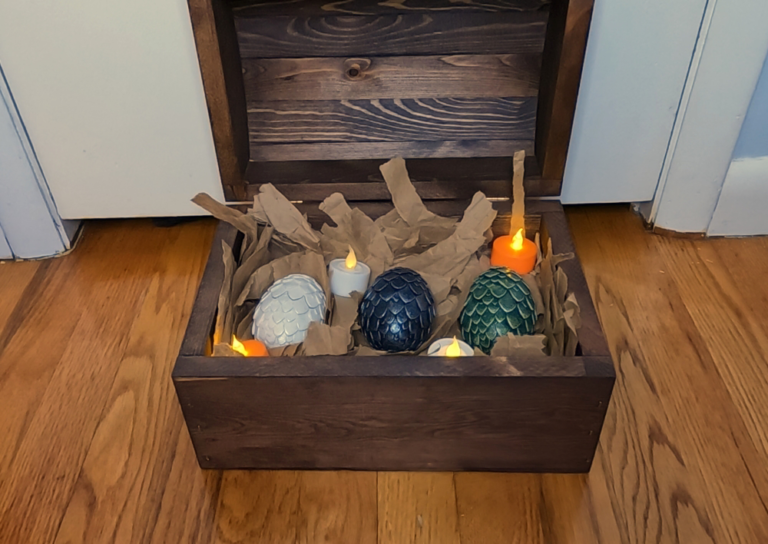
Once you have your dragon eggs, you can arrange them inside your chest however you like. You can display them in a nest-like arrangement, evoking the idea that they’ve been carefully incubated. You can also scatter them as though they’ve been hidden away in a mystical treasure trove. You might need to add more padding to ensure that they don’t roll around too much, so make sure to have a little extra left at the end of step 3.
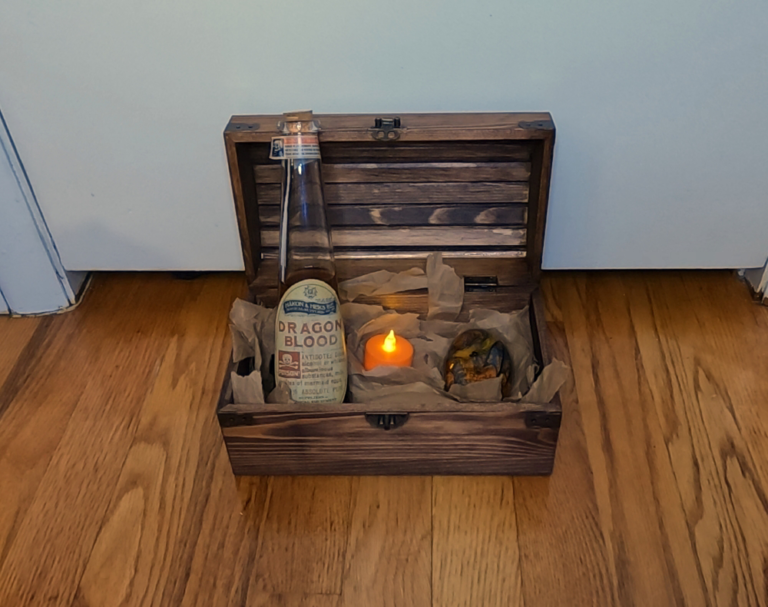
If you want, you can also add other items like potion bottles, crystals, and even gems to your dragon egg chest. I added some potion bottles to my chests since I used them as part of my Trunk-or-Treat setup for Halloween. The possibilities for personalization are limited only by your imagination.
Step 5: Illuminate Your Dragon Egg Chest
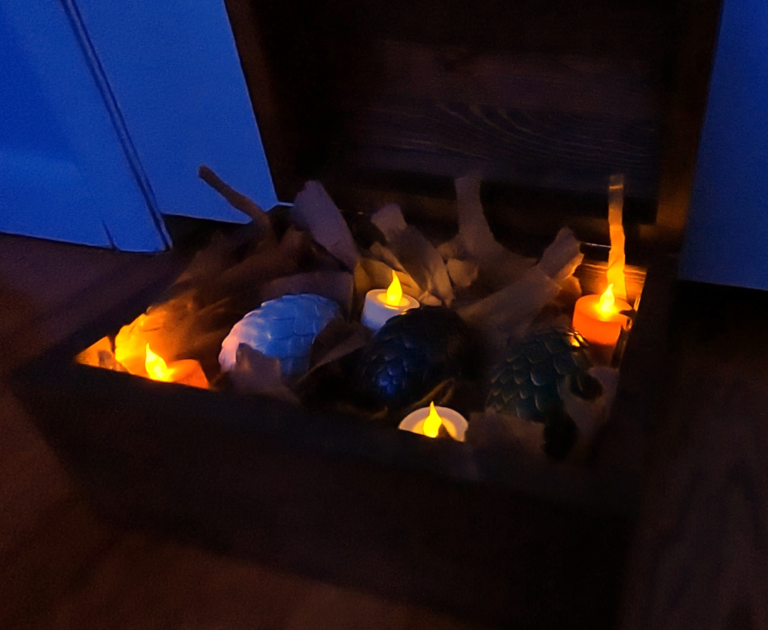
To add some enchantment to your dragon egg chest, incorporate some lights! Fairy lights or LED lights are ideal choices for this magical endeavor. In my project, I opted for flameless tea lights, which emitted a warm and cozy glow. However, you have the creative liberty to explore other options, such as fairy lights or LED lights. Alternatively, you can decide to forego lighting altogether if that aligns better with your vision. The choice is entirely yours, allowing you to tailor your dragon egg chest to your unique preferences and style.
Extra Things to Add to Your Dragon Egg Chest
Personalize the chest with the names of your dragons or a meaningful inscription.
Decorate the chest with dragon-themed decorations, like small dragon figurines or metallic scales.
Attach sturdy handles or straps to the chest for ease of transportation.
Add gems around the outside of the chest to make it a truly captivating and magical treasure.
Final Thoughts
Crafting a dragon egg chest is a truly enchanting DIY project that combines creativity, craftsmanship, and a touch of magic. Whether you love fantasy or want a unique gift idea, this guide reveals how to create these special chests. It starts with preparing the wooden chest and choosing between staining or painting for your desired look. Using brown packing paper keeps your dragon eggs safe, which you can buy or 3D print. You can be extra creative by adding optional items and lights, creating a magical treasure that mirrors your style and imagination. This DIY guide has revealed the secrets of creating mystical chests, merging artistry and imagination. So, gather your materials and start this exciting journey to make your own dragon egg chest, showcasing your artistic flair and creativity.
And as always,
Happy Arting 🙂
Share this post!


